Key Takeaways: Fix Blurry Photos Fast
Here is a quick guide to troubleshooting your blurry photos before sending them to the printer:
| Issue / Action | What You Need to Know |
|---|---|
| Quick Fix | Sharpen photos using free editing software like Google Photos or Snapseed before you upload them. |
| High-Quality Fix | Use the Photo Enhancement Service for professional, non-destructive sharpening and resolution boosts. |
| Resolution Check | Aim for photos at least 300 DPI (dots per inch) for prints smaller than A3. Happy Moose flags low-res images automatically. |
| Printing Policy | While free tools can help, for very blurry photos, consider ordering a Photo Print to minimize visible blur. |
| Paper Choice | Matte paper is better than Glossy for hiding small defects or slight blurriness. |
How to Fix Blurry Photos Before Printing (NZ Guide)
We’ve all been there: you find a precious, decades-old photo of your family, or you snap a perfect moment on your phone only to realise it’s slightly out of focus. A small blur on a phone screen can become a distracting mess when printed in a Large Format Print.
Printing a blurry or low-resolution image is the number one cause of disappointment in NZ photo prints. But before you trash that memory, there are several things you can do to rescue it.
Here is your complete guide to identifying, fixing, and enhancing blurry photos for printing in New Zealand.

1. Identify the Culprit: Resolution vs. Blur
First, you need to know why the image looks soft.
| Cause | Description | Solution |
|---|---|---|
| Low Resolution (Pixelation) | The image simply doesn't have enough data (pixels) for the desired print size. | Upscale the image data (use enhancement software). |
| Motion/Focus Blur | The subject or camera moved during exposure, or the focus point was missed. | Sharpen the image using editing tools. |
If your image is truly low resolution—meaning it's 500×500 pixels and you want to print it A1 size—there’s a limit to what any tool can do. However, most modern cameras suffer from softness that can be fixed.
2. The DIY Fix: Free Tools for Sharpening
If you're comfortable with basic editing, here are two quick steps you can take before uploading your image:
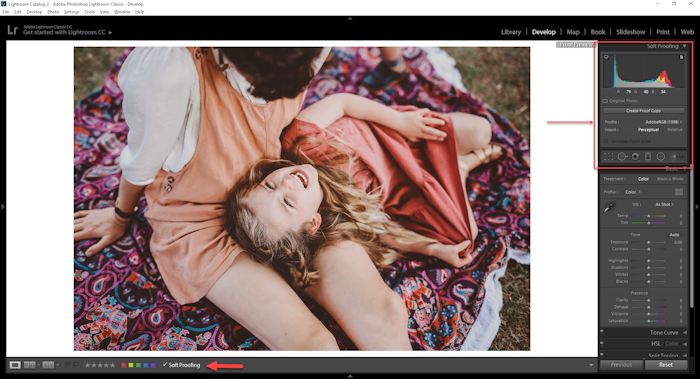
A. Sharpening (The Go-To Fix)
The most common fix for soft photos is using a sharpening filter. This increases contrast along edges, making details pop.
Mobile Users: Use free apps like Snapseed (look for “Details” or “Structure”). Sharpen gradually—too much causes blocky edges.
Desktop Users: Use Pixlr or your computer’s native photo editor.
B. Noise Reduction
If the blur comes from shooting in low light (creating grain or noise), run a Noise Reduction filter first. Then lightly sharpen for a cleaner result.

3. The Expert Fix: Happy Moose Photo Enhancement Service (Recommended)
While DIY methods work for minor adjustments, they often damage the image quality further. For professional results without the hassle, the best solution is our Photo Enhancement Service.
This service is ideal for:
- Archived Photos: Enhancing old, low-resolution scans.
- Family Heirlooms: Ensuring precious memories look their best.
Our team uses sophisticated software that provides:
- Non-Destructive Sharpening: Only the necessary areas are sharpened, avoiding artifacts or noise.
- Resolution Boost: Intelligent algorithms add detail where it’s missing.
Simply select the enhancement option when placing your order, and our NZ-based specialists will handle the technical work for you.
4. Printing Smarter: When to Accept the Blur
Even with enhancement, some photos are destined to remain soft. Use these tips to avoid disappointment:
- Size Down: If flagged as low-resolution, order a smaller Photo Print.
- Choose Matte: Matte finishes (like Archival Silk) hide imperfections better than glossy surfaces.
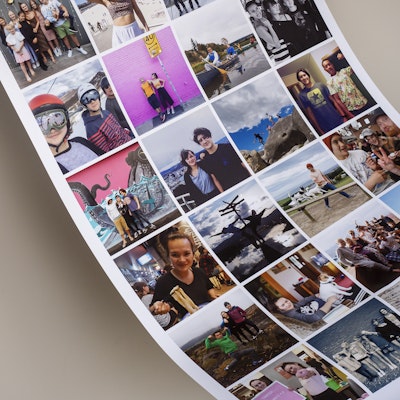
- Collage Strategy: Combine slightly blurry photos in a custom photo collage so the eye focuses less on individual flaws.
Ready to Print?
Whether you rescued your photo yourself or entrusted it to the photo enhancement service NZ trusts, we are ready to print your memories on the finest archival-quality papers.
Don't let blur stand in the way of a beautiful memory. Check your photo resolution and start printing here.
Before you go, you might also like our recent blog on how to check your photo resolution NZ.
