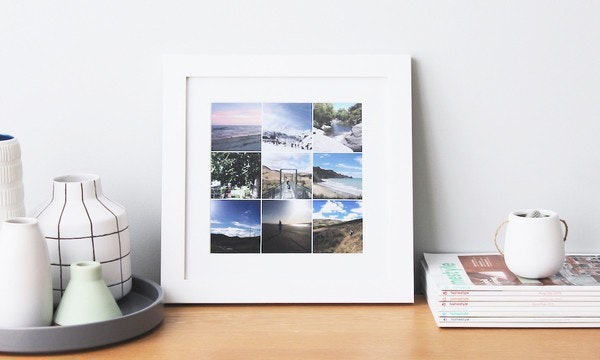
We all love photo collages but only a few of us know that you don't need expensive software to design one. In this step-by-step guide, we will show you how you can create a beautiful photo collage with your favourite pictures using free mobile apps and online tools.
What are the steps?
Step 1: Choose your collage maker
After testing more than a dozen apps and websites, we would like to recommend these free tools:
- The Layout app - great as a starting point
- The Fotor.com website - has more extensive options.
If you are new to design, or if you are looking for a quick, easy, and intelligent tool to use on your mobile devices, get the Layout app. (Download link for iOS AppStore or Android Play Store.)
The layout app is very easy to use. All you need to do is to select the photos you like and Layout will automatically suggest 16 layout options for you. It will pre-populate the template choices with your images, taking the guesswork out of which template works best here.
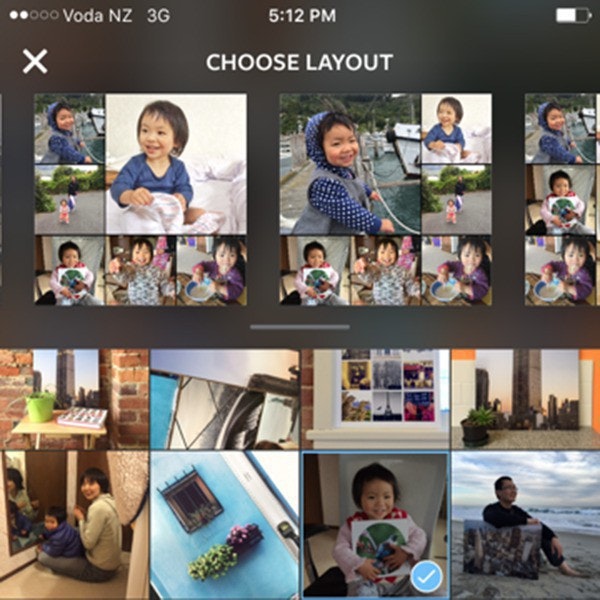
The limitations of the Layout app are that it can only create square collages and the layout choices are limited.
Fotor will be your best bet if you want to be really creative, choose from a wide variety of options, and you don't mind paying $1.49 for some professionally designed templates,
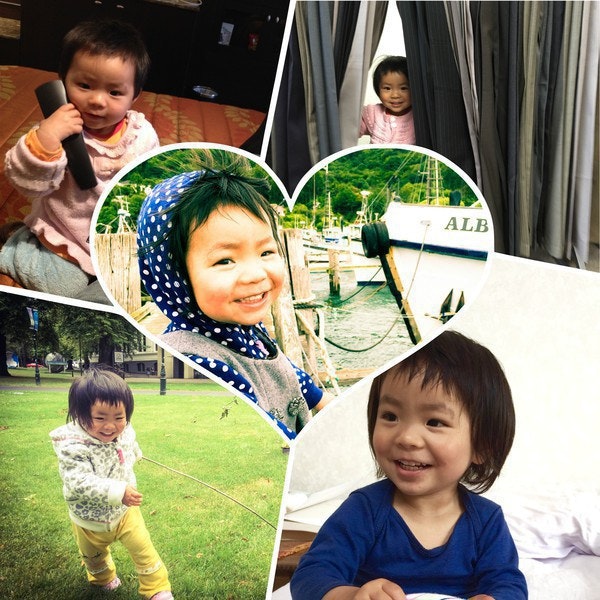
We have recorded a 7-minute video to show you all the important features you need to know about Fotor. We cover the basic features and introduce you to a few hidden gems.
- 0:39 - how to choose from the different collage templates
- 1:35 - a quick tour of the creative templates
- 2:02 - how to use the editor tools to achieve visual consistency
- 3:45 - how to change the final image size to be print ready. Use 2000x2000 if you want a square collage or 2100x2800 for a rectangle one.
- 5:11 - how to tweak the border width
- 5:55 - how to select a background colour or texture that matches your photos
- 6.18 - where to find the "highest quality" option when you export the collage to get the best image resolution possible
Step 2: Identify the hero image
The hero image is the one that defines the story; it's the focal point and it should be able to stand on its own. It tells the "who" and "when" part of the story with the rest of the photos describing "where", "what" and "how". The colour, texture and emotion of the hero photo sets the tone for the whole collage.
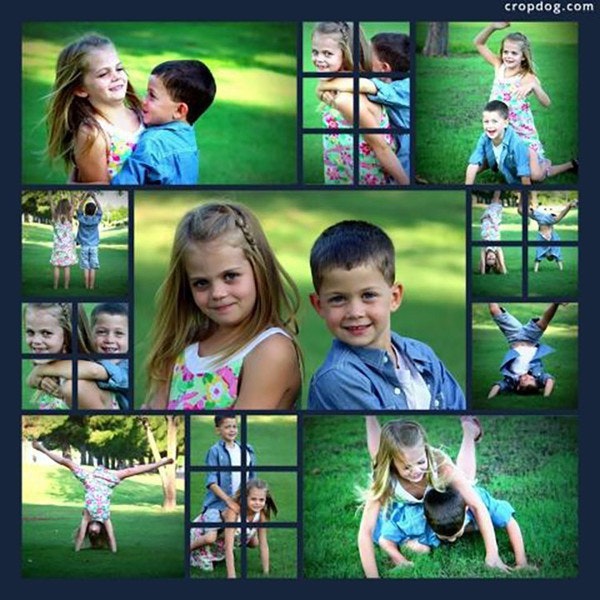
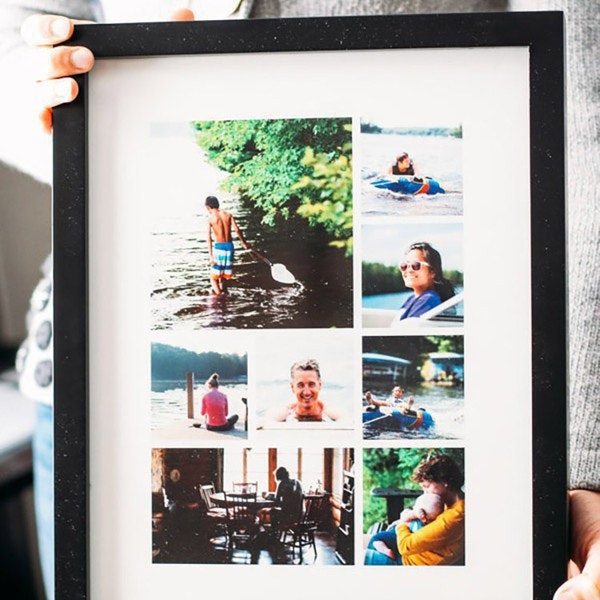
The hero photo also dictates the orientation of the final print. For example, in the collage below the boy in the hero photo is standing up. The vertical orientation make it more natural to choose the portrait layout than the landscape.
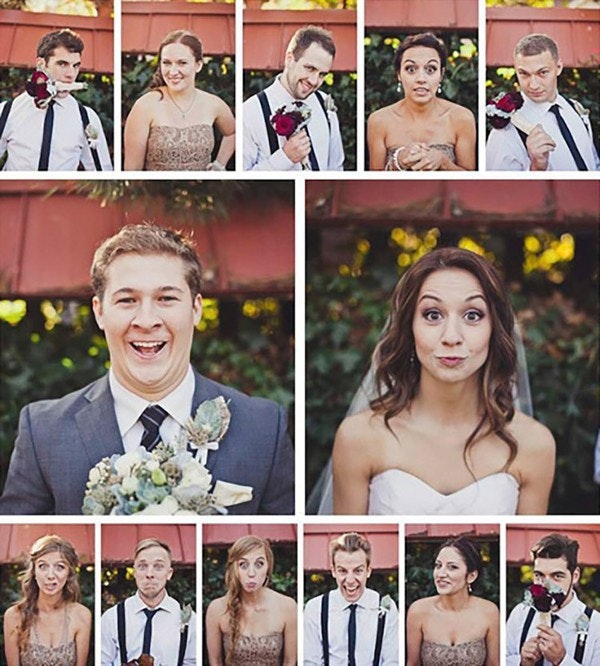
Sometimes there can be more than one hero photo. This can be an excellent choice when you are telling the same story from two different but equal perspectives. The rule of thumb is that the hero photos should be visually consistent.
Step 3: Choose supporting photos
Once the hero photo is in place, it is much easier to settle on the rest of the photos. The supporting photos augment the story by providing context, details, or a different set of perspectives.
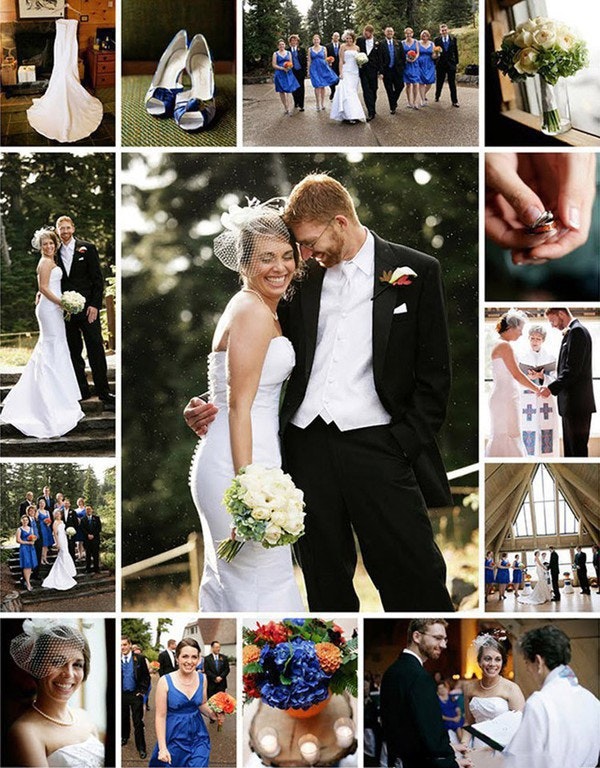
When you choose the supporting photos, select ones with similar colours or textures. We will talk about how to use the editing tools to achieve this goal but it's always better to minimize the edits.
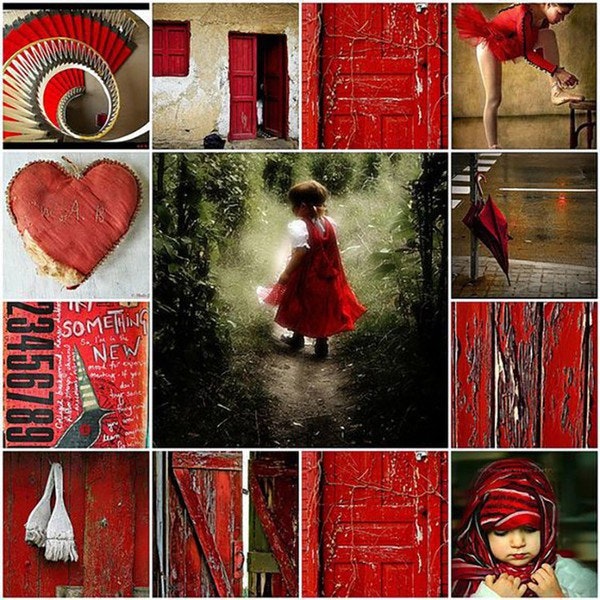
If all you want is a way to show your instagram photos and you don't have much time, there is always the option to use the grid layout. Simply put all your photos into a grid. You want to use plenty of photos and encase the entire collage a thick border. The visual differences in the photos will cancel each other out and the result should be fun to look at.
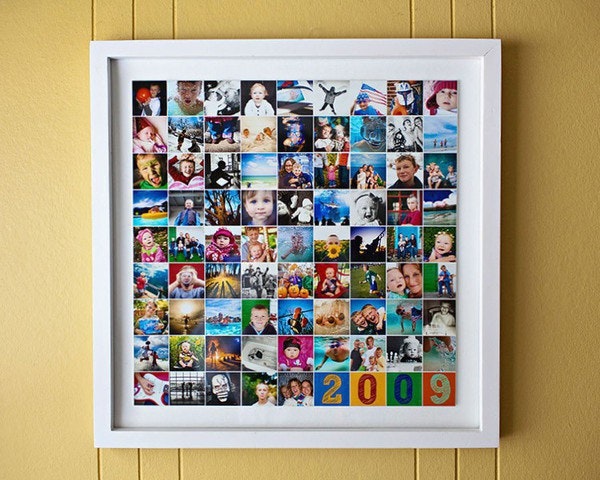
Step 4: Edit for visual consistency
Once you have selected all the photos and settled on one particular layout, it's time to do a bit of photo editing to bring everything together. It's tempting to stop at Step 3 but the extra time spent editing will make a big difference to the final result.
When it comes to visual consistency, there are three elements you can work on: size & alignment, colour and texture.
Use the zoom/pan tool to ensure that the subjects in each photo are of similar size and aligned both vertically and horizontally.
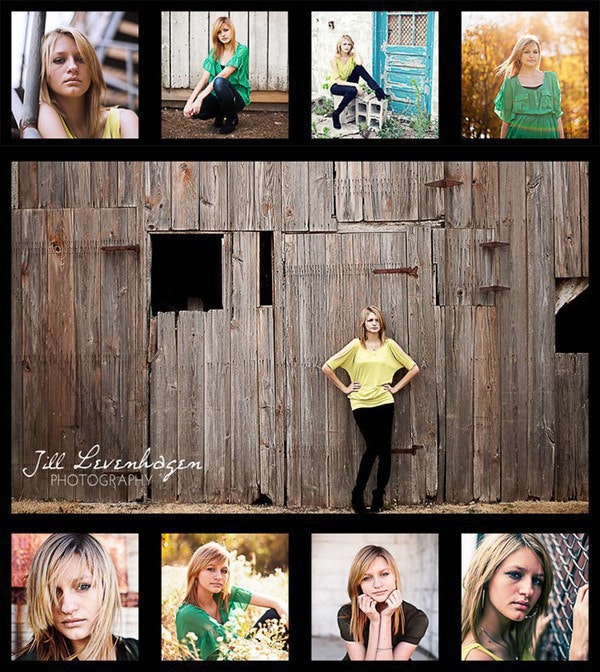
When it comes to colour, less is more. Limit your palette to 2-3 colours. If the photos you have selected have a huge range of colours, apply the same colour filter to all photos and see whether it helps to bring the colours together.
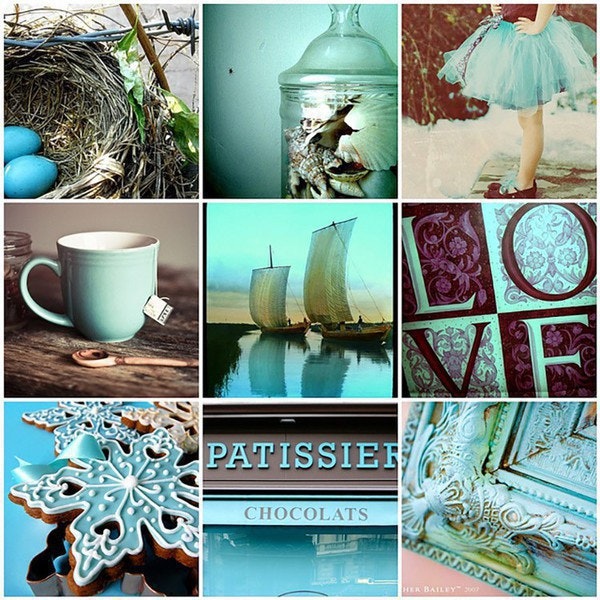
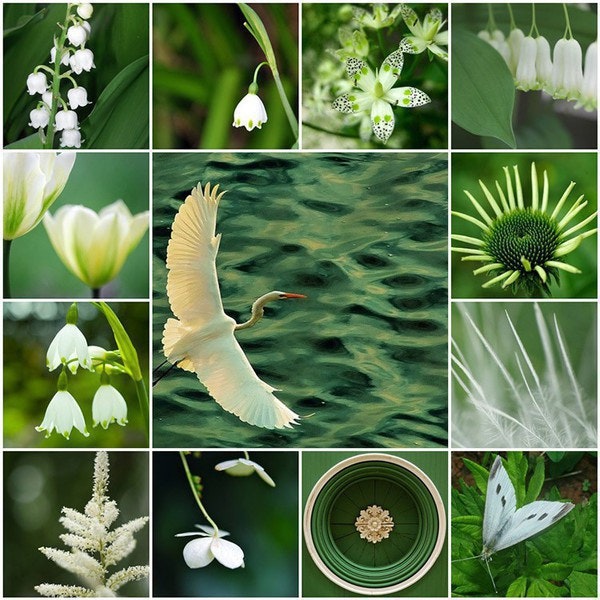
Step 5: Choose the right medium to print
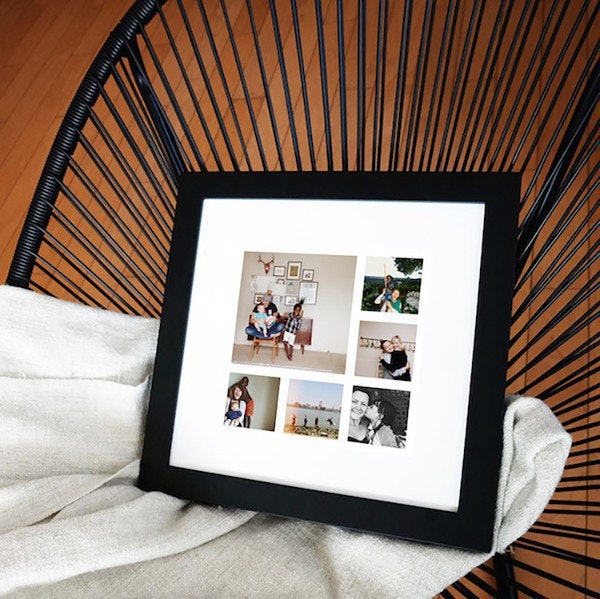
There is something special to see your own photos on the wall. One question we get asked a lot is which product to print the collage on. Our answer is it depends on the quality of the photos, your budget, the house's style, and the space you want to use the print.
If you want to go big or you have a tight budget, metal prints is the one to go. They are super affordable, easy to hang or leave as a free standing. The metallic make works well with a Scandinavian, modern, or minimalist house style.
If you are looking for some display items on the desk, or on a bookshelf or as a mantlepiece above the fireplace, get some photo blocks.
If you have photos you really like but the qualities aren't the best, get canvas prints. Canvas prints have a very rich texture and hide details really well. Photos can be stretched to virtually any size and they have the look and feel of a painting.
Last but not least, if quality is what you are after, we strongly recommend framed prints. They give you supreme finish, long-lasting protection and the best quality that you can purchase on the market. They look gorgeous in almost any home styles.
The following table shows the largest size and price for each product. Please feel free to click through to see more size options and ideas on how interior designers use them in their projects.
| Product | Square | Rectangle |
|---|---|---|
| Metal print | 45x45cm - $59.95 | 45x60cm - $79.95 |
| Photo block | 30x30cm - $59.95 | 30x45cm - $79.95 |
| Canvas print | 30x30cm - $69.95 | 40x70cm - $99.95 |
| Framed print | 45x45cm - $99.95 | 45x60cm - $129.95 |
We hope you find this guide helpful. If you have any questions, please leave a comment below. We will try our best to answer them. Have fun and we are looking forward to seeing your photo collages.