This might sound counter-intuitive for an article about how to get better holiday photos, rather than 100 photos of your family opening presents, just take a handful and use the rest of your time to simply be with your loved ones and enjoy your time together.
Try to be intentional when taking fewer photos, and the result will be more keepers that you want to look at years down the road instead of dozens and dozens of images of the same scene.
We have put together some simple, practical tips and ideas for key moments to get you better prepared for this holiday season.
4 Essential Tips
Here are four straightforward yet super powerful tips. Once you understand how they work, you will be able to shoot much more interesting photos using the same mobile phone or tablet you are using to read this article.
Tip #1Get down to Eye Level
Bent your knees a little and you'll be able to take better photos. It's that simple.
This works especially well when shooting kids. Because of the great difference in height, when you stay on your own level, you're shooting the top of their head. Often not the best part to photograph.
When you position your camera at eye level, you see them the way they see you. Point of view matters. You are drawn into their world.
Tip #2 Shoot with light behind or to one side
Regardless of the light source, window, door or a Christmas tree, go between your family member and the light sources.

That is, don't include where the light comes from in your picture. The strong light will make your phone camera pick an exposure that's often too dark for the faces.
One intuitive way to understand this tip is to imagine the light source as a torch. You need the torch to lighten up the face of your loved ones. Or try to shoot from the side if you want to highlight the shape of their faces.
Turn off your flash indoors. The light from mobile phone flash units tend to produce harsh, flat and cold light. This is rarely a complimentary way to illuminate your family members.
If you are shooting indoors at night, try to flood the room with as much light as you can - turn on whatever lamps you have at hand. This will help even out the dark/bright objects, as well as other problems like red-eye.
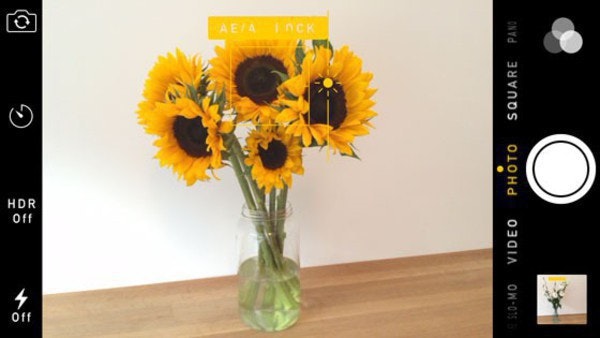
Tip #3 Always tap to focus
Phone camera can’t always recognize the most important part of the scene. The autofocus is pretty good at picking out faces, but without a face to focus on, it will, by default, focus on the centre of the scene.
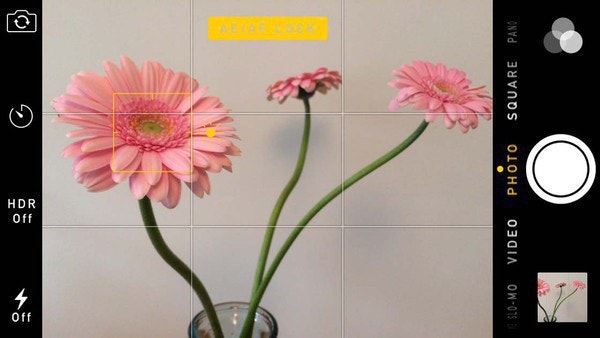
The yellow box in the screenshot above tells you which area of the scene the camera is focusing on.
Here is the tricky part: even when you tap to set focus if anything changes in the scene the camera may automatically adjust focus and exposure. For example, if you’ve set focus on the dessert, then someone walks through your scene, the camera might re-adjust the focus and exposure onto that person.
To ensure the focus remains locked, tap and hold for three seconds on the subject you want in focus. When the focus is locked you’ll see AE/AF LOCK in a yellow box at the top of the screen.
Tip #4 Expose for skin tones
When shooting a person, get the skin tone right first.

By design, your phone camera will automatically set the exposure based on where you tap to focus. Sometimes you might want to adjust the exposure for another part of the scene. With iOS 8, you can adjust the exposure after setting focus by swiping up and down once you locked down the focus area.
8 Creative Ideas
If you want to do something that is out of the ordinary, one that will easily crack a smile when it is looked at, check out these not-so-usual ideas and get inspired for your own shoots this holiday season!
Idea #1 Set up a DIY ‘Photo Booth’
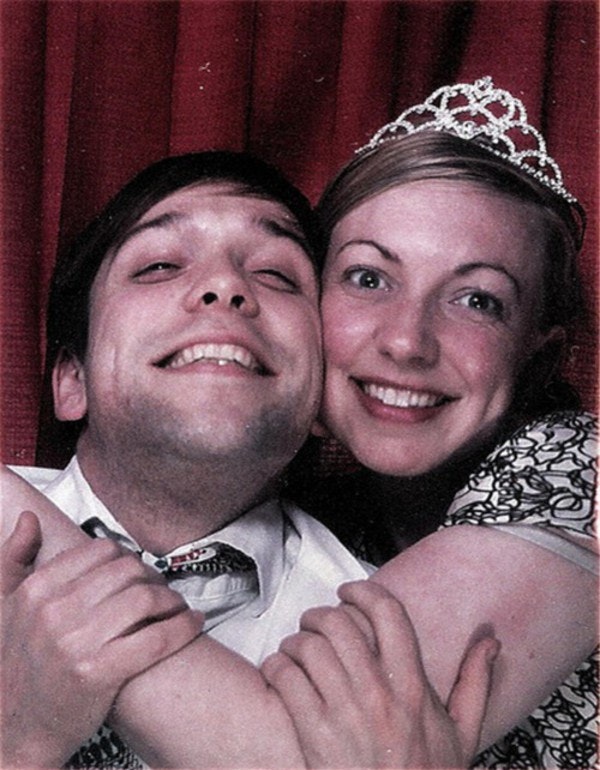
Here is the setup according to Greg.
I set up a little place where I asked everyone who came to sit for me so that I could take a nice shot of them.
I photographed everyone as they came in and then left the camera (a point and shoot) set up on a tripod and set to a short self-timer time so people could photograph themselves during the rest of the party.
I set it up in a well-lit position with a red velvet curtain looking background with a few Christmasy decorations around the edges. I left a few Santa hats and tinsel for people to decorate themselves with.
The shots were great – people went back to it throughout the party and the photos got crazier and crazier as time went on. It was the hit of the party.
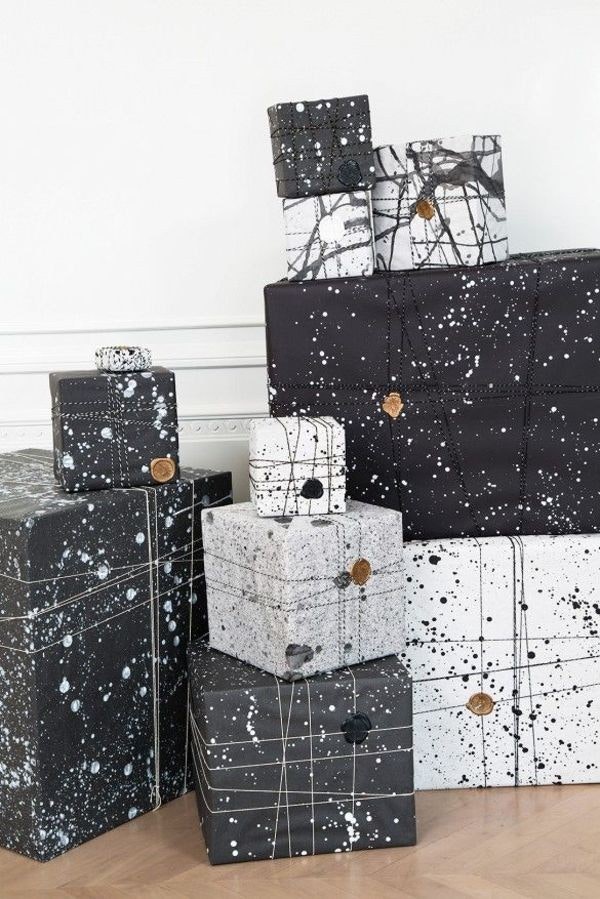
Idea #2 Capture the preparation stages
The shots before the event are often great because they show everything at it’s best before everyone descends on your party zone.
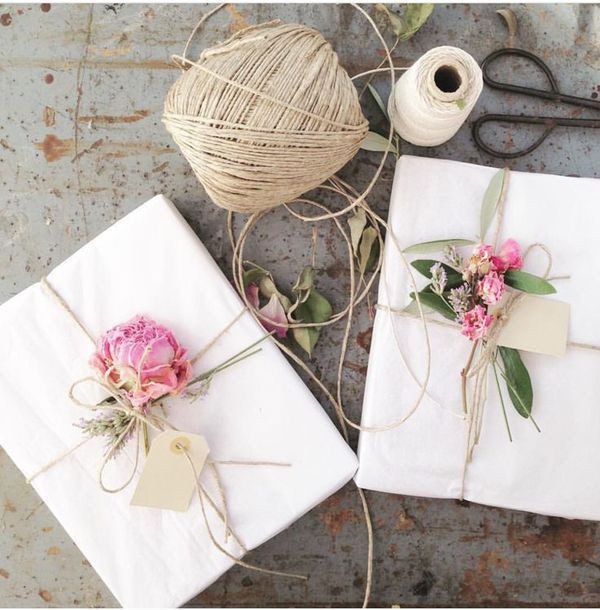
Get up close and personal with decorations, wrapping paper. Our loved ones (and ourselves) work hard to put up decorations, strategically place ornaments, and cook that amazing food.
Speaking of shots before the party starts, why not set up some before and after shots? Make sure you take the shots from the same position. You'll be amused.
Idea #3 Sparks and Lights
Consider it a basic truth of the human condition: we all like shiny things.

The problem with the vast majority of photos on Christmas lights, fireworks or sparks is that most people wait until way too late to start shooting. After it gets completely dark, you can either have the lights or the surroundings properly exposed. But not both.

The right time to shoot is 30-minutes after sunset when the bright light and the ambient light start to mix beautifully.
You'll have about a 10-minute window which will give you a nice series of subtly different lighting variations. This fleeting balance of light and shadow will yield the brilliance of the lights while maintaining details in the shadow.
Idea #4 Food #Flatlay
For me, a large part of our family tradition is enjoying the food we prepare for our holiday meals. Food #Flatlay provides an easy way to capture those details.
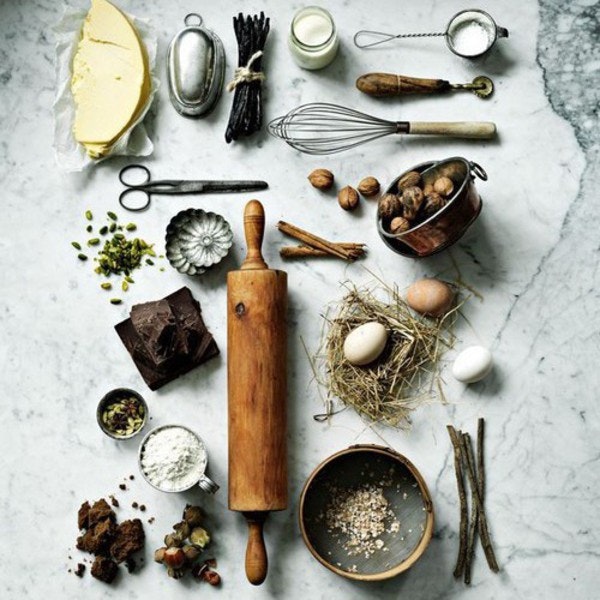
An overhead shot can work just as well with a single item, but it’s important to include plenty of other items in the kitchen.
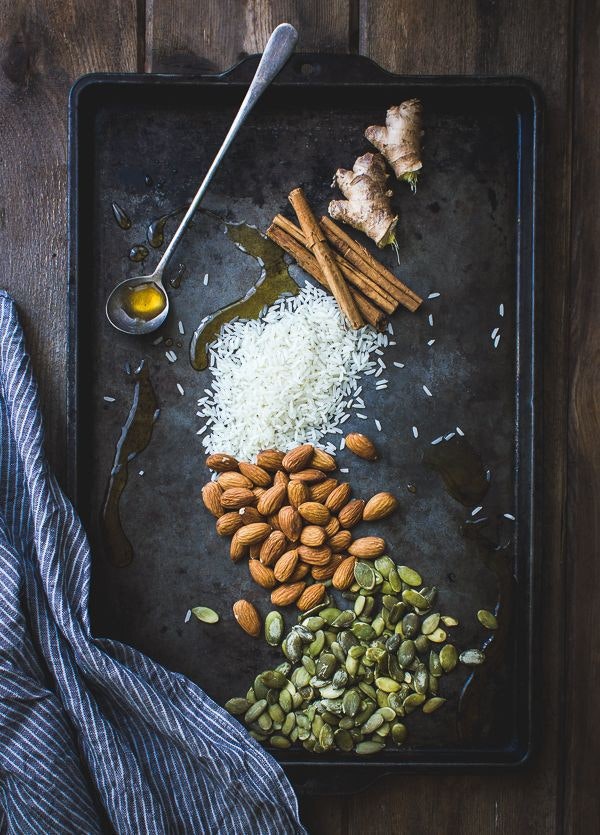
Rough wooden cutting board, marble surfaces, battered baking trays and patterned table cloth really help to add visual interest to a shot, and are arguably just as important as the food itself.
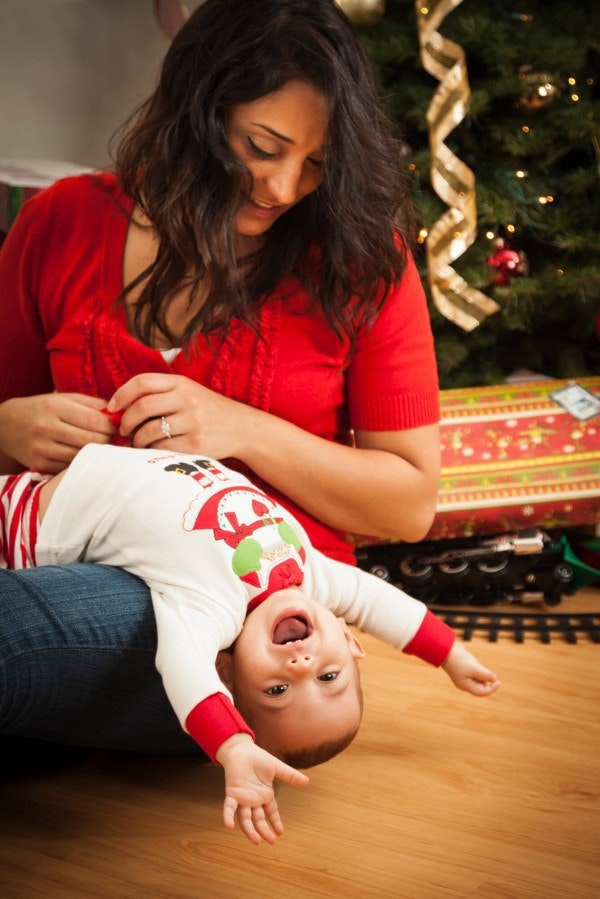
Idea #5 Opening Gifts
Opening gifts is filled with an array of emotions, facial expressions and excitement – especially if you’ve got kids around.
Luckily, most mobile phones now support shoot in burst mode, which makes it much easier to capture "the" moment fast.
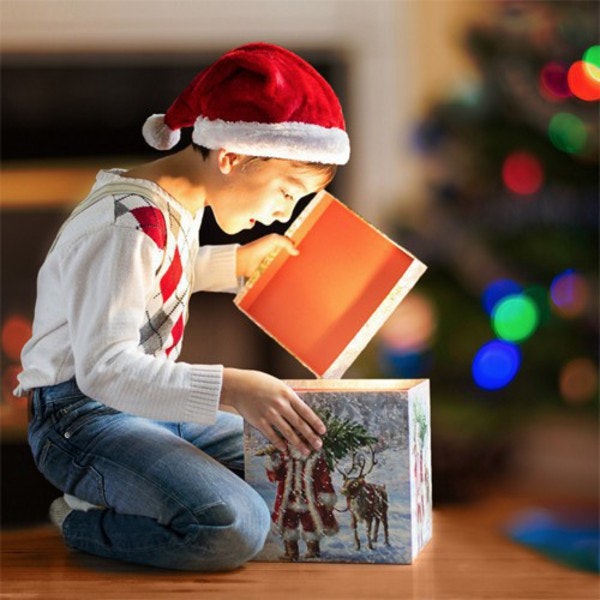
Keep the camera going and you’ll end up with some excellent series of shots. From the anticipation of getting the wrapped gift, through to the excitement of unwrapping to the joy (or occasionally disappointment) of seeing what’s inside.
Don’t forget to shoot the reactions of those who give the gift. Or the special family members.

Idea #6 Creative Portraits
Shoot moments instead of poses. Capturing the essence of what people are doing – talking, laughing, opening presents, sharing a drink – often makes for much more interesting photos as well as better memories in years to come.
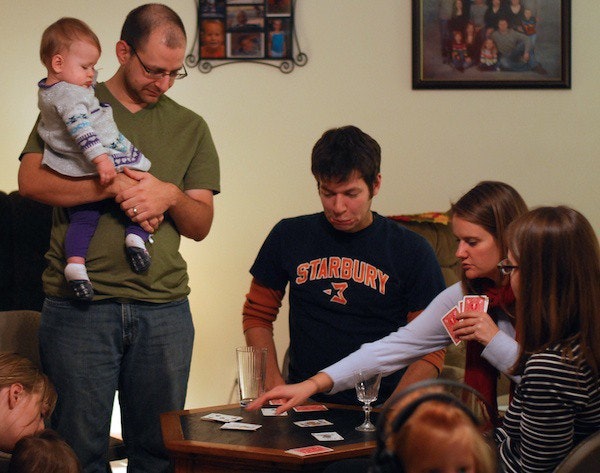
One important thing to keep in mind is to capture as much context as possible. What else was happening? Who else was present? What sort of activities were people doing?
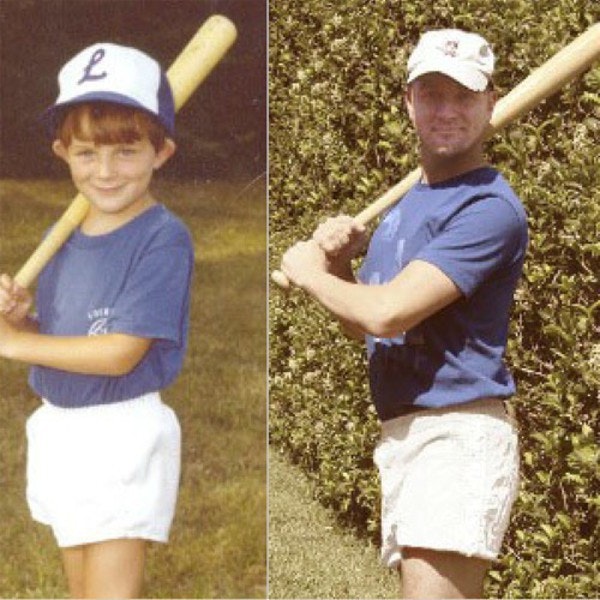
Idea #7 Young Me/Now Me
The holidays are a perfect time to haul out old photo albums and organize your family into hilarious photo recreations.
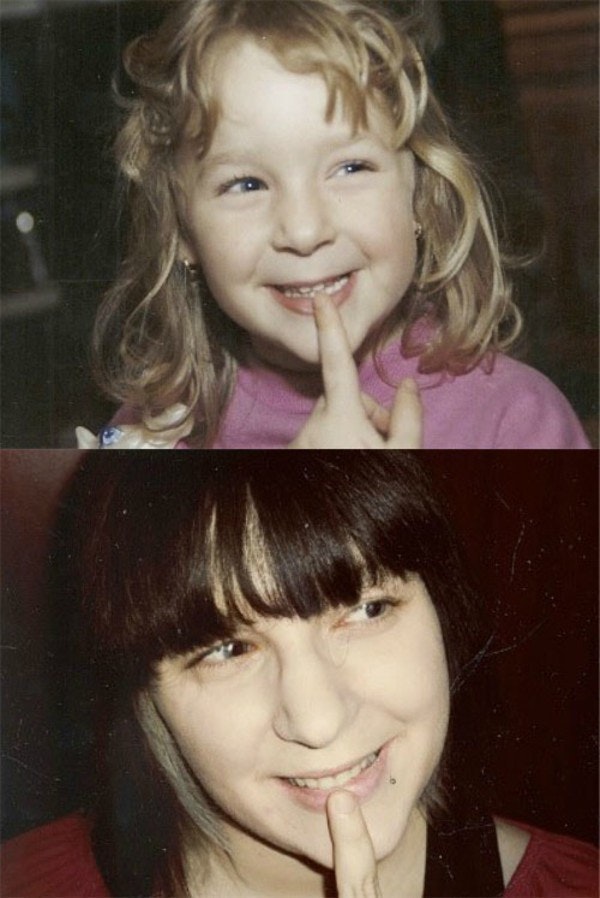
Young Me/Now Me is the often touching yet often hilarious website made by Ze Frank. Folks recreate old childhood photos with one major difference: they’re older now!
Idea #8 Extended Goodbye
The long goodbye ... makes time for all the inside jokes and conversations you somehow didn’t have time for earlier during the day.
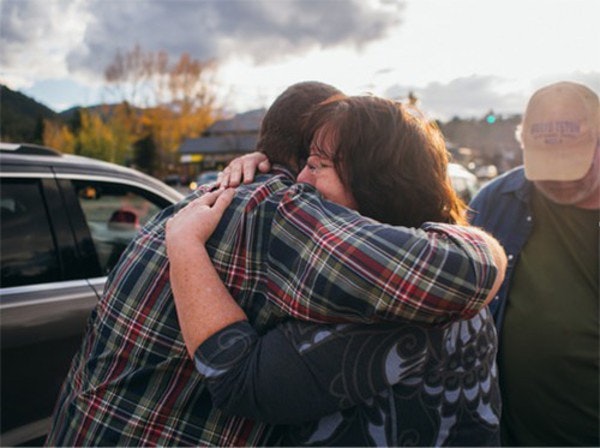
It will probably take you 45 minutes from the time you announced you were leaving for you to finally get in your car and be on your way home.

Take the time to take photos of these bittersweet moments. They are great keepsakes. Many of these photos will strike a chord for many years to come.
